Blind Contour Hands


Today we learned and practiced contour drawings. We had to draw our hand with one continuous line without looking at the paper.
Modified contour hands


Today we learned about and practiced modified contour drawings. This means we could look at the paper while drawing.
4 Assessment drawings


We were told to draw 4 drawings of topics including a portrait, an alien, a perspective drawing, and a foot to see where we are starting at in this class.
Shaded Forms

A cylinder and a rectangular prism were placed on our table for us to draw and practice shading and shadows.
Contour Shoe
A student at my table was told to put one of their shoes on the table and we all drew a contour drawing of it. We could look at our paper, however, we could not lift up our pen.
Contour Backpack Drawing
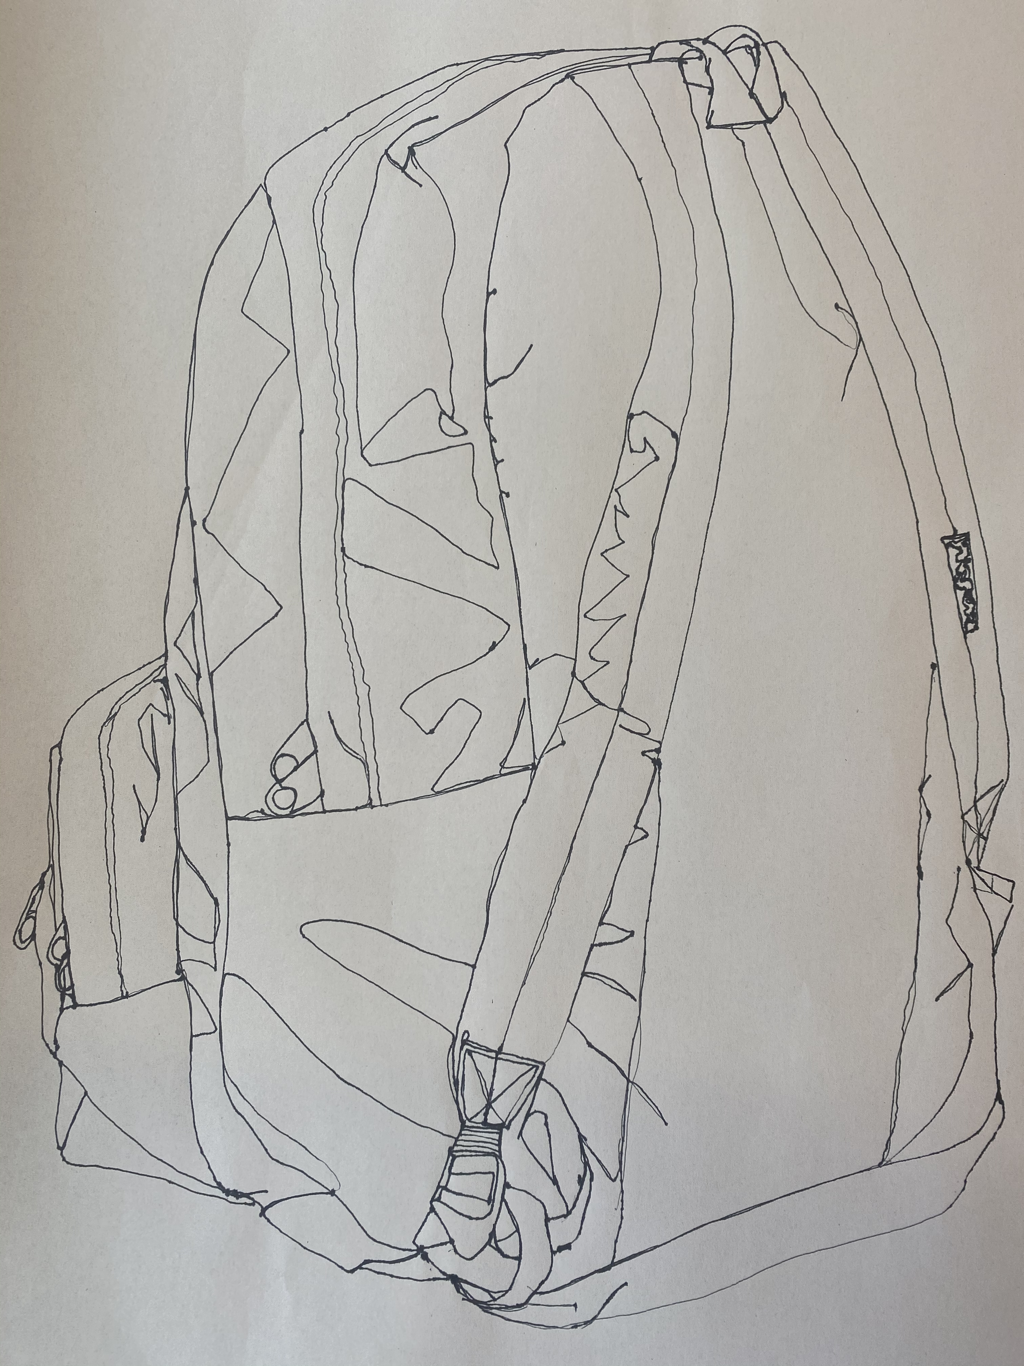
A student at my table was told to place their backpack on the table and we all drew a contour drawing of it. This was a lot like the contour shoe drawing.
Contour Room Drawing

1. Yes it is evident that this drawing is one fluid line because there are lines connecting things that are not connected in real life. For example, the artwork on the back wall.
2. The practice contours got me used to drawing exactly what I see and drawing at the same speed as my eyes so that everything is proportional.
3. Contour drawings are different from outline drawings because they are not just an outline, it has lines that can make it look 3D.
4. I was able to make a singular line make objects in the room, and the room itself seem 3-Dimensional.
5. Honestly I don’t enjoy doing contour drawings but it definitely helped me practice drawing exactly what I see. I don’t like how with contour pen drawings the line looks so uncontrolled because of how slow you’re moving. To enhance this drawing I would try to make the wall more realistic because I got lazy and rushed because it was so repetitive.
Brown Paper Bag Drawing

A paper bag was crumbled up and placed on our table for all of us to draw. This was practice for drawing different textures and fabrics.
White ribbon/Forms/value chart
These shapes and form were drawn with white colored pencils or white charcoal. It is done the opposite of if you were to draw with a pencil on a lighter colored piece of paper.
Still life Reference photos
Compositional sketches

In-Progress


Final
1. My drawing has a good compositions as well as being very detailed and 3D using value.
2. My values and shadows are realistic and make the artwork look 3D.
3. There are multiple sources of lighting in my drawing because multiple lights were pointing at the still life from different angles.
4. The compositional sketches were important s because they helped me figure out which composition would look the best.
5. My final drawing was a success because it uses all the skills I learned in this unit including value and contour lines.
6. My proportions are correct because I used my contour skills I learned in this unit.
7. Yes, I chose the best of my compositional sketches.
8. Yes, the center of interest would be the jar of paintbrushes.
9. I could definitely use better time management skills and use my time more wisely because this peice ended up taking a lot longer than it should have.
10. It was hard to see value in the photo with color so I edited the photo to black and white.
11. This drawing taught me to draw exactly what I see and to draw more realistically.
Pastel
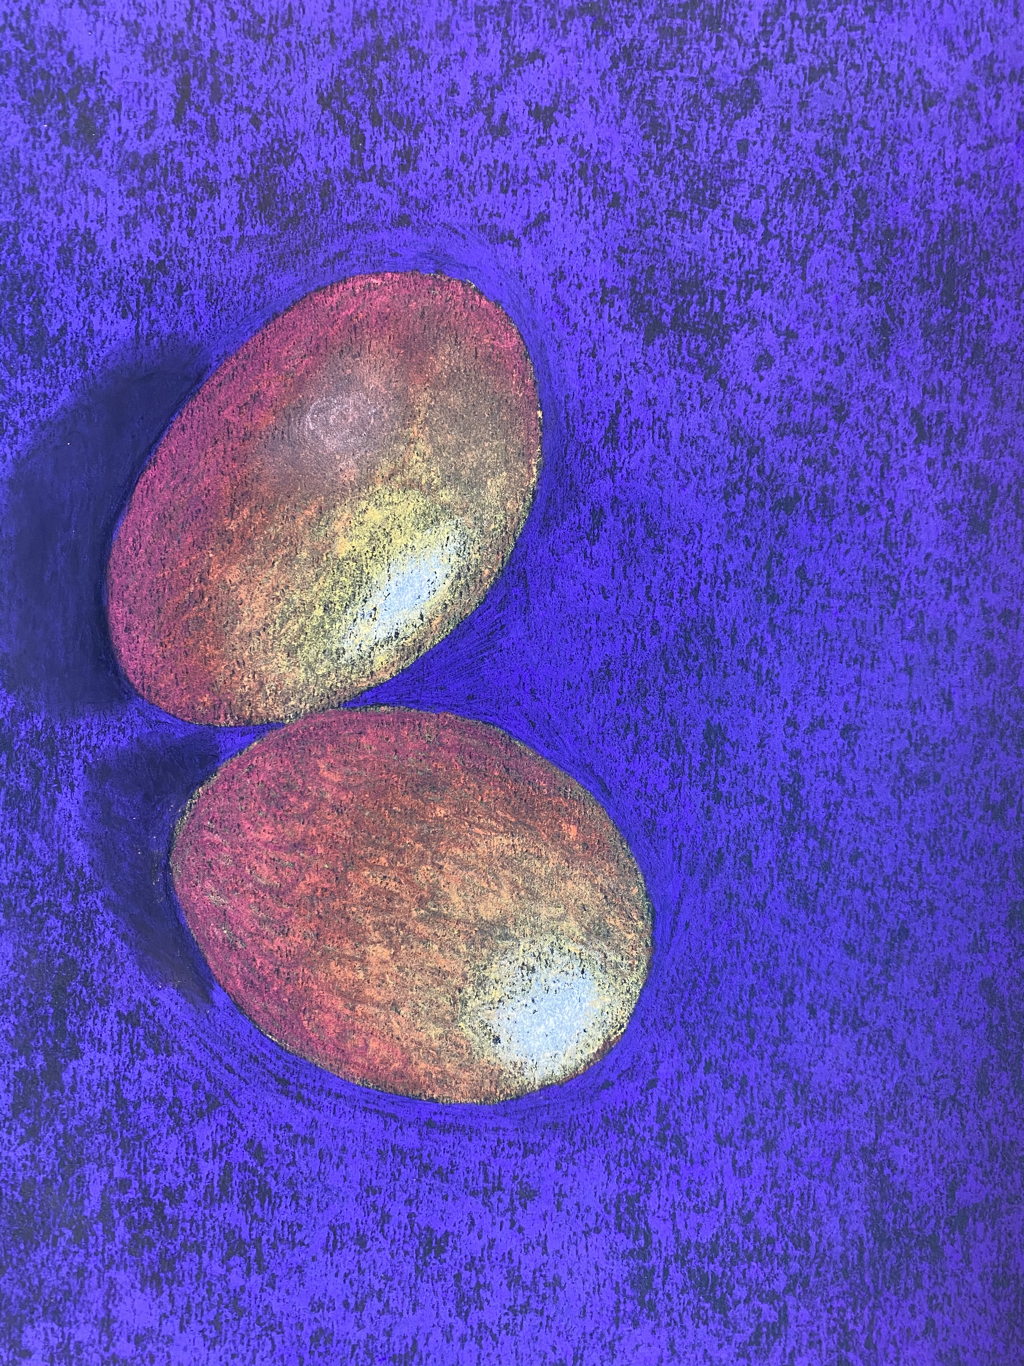
Eggs
We used what we learned from the paste forms assignment to draw eggs with pastels.
Forms
We learned and practiced how to shade and blend colored pastels.
Wrapped candy

We learned how to draw transparent/ clear wrappers and drew candies of our choice.
Look what I can see through project
Brainstorming ideas:
sealed sneakers
glass bottle foreign sodas
face mask in package w/ hand sanitizer
clear shoe container/shelves
spilled syrup bottle w/ pancakes
sealed sneakers
glass bottle foreign sodas
face mask in package w/ hand sanitizer
clear shoe container/shelves
spilled syrup bottle w/ pancakes
Sketches / in progress


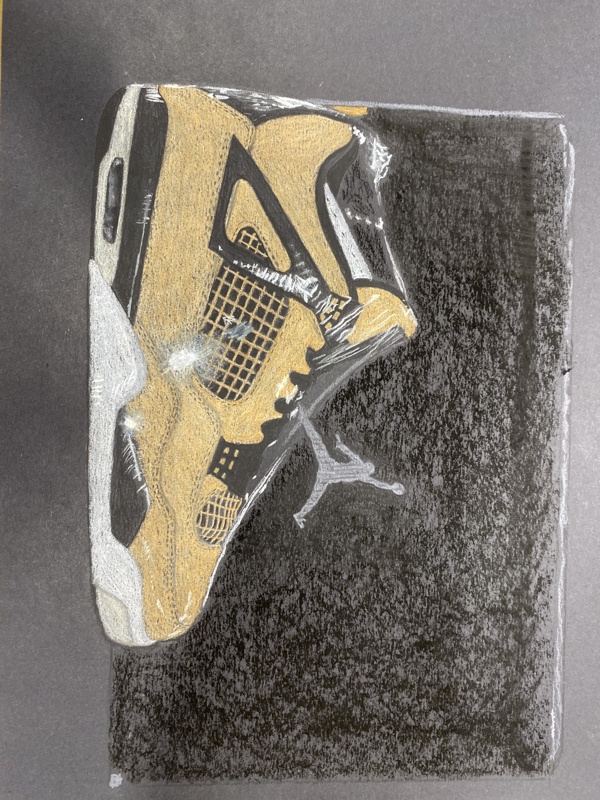
Final
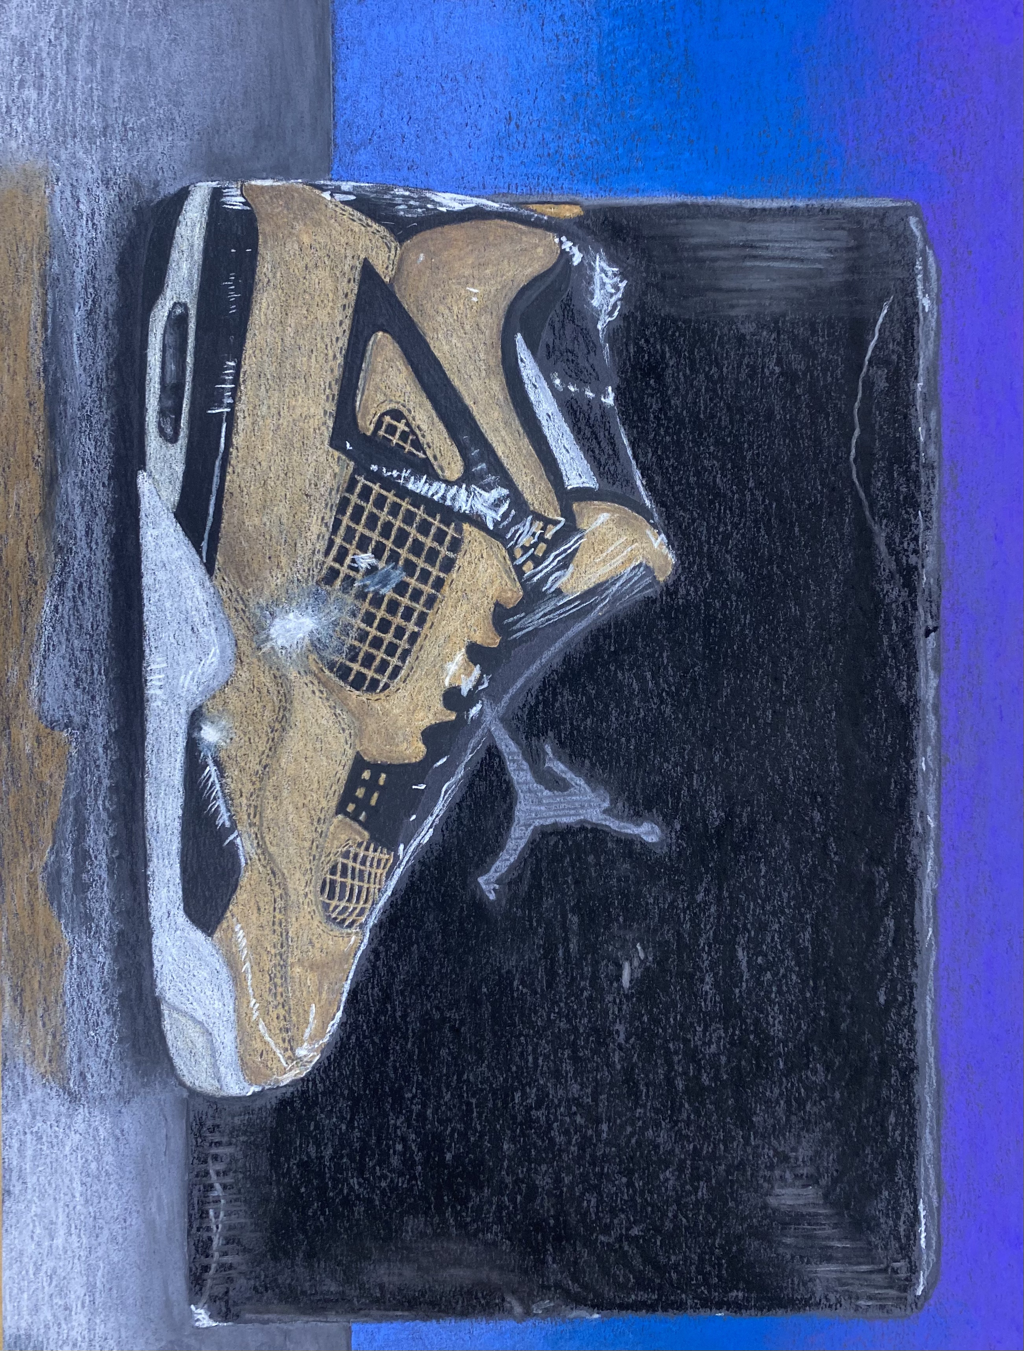
1. Yes, it is neat and shows the skills I learned in this unit.
2. I showed transparency by making lots of highlights to look like a clear sealing.
3. The shoe and box have neutral colors like blacks and tans like the original picture white white and blue highlights like a phone flash. The background in very colorful to add contrast.
4. I created contrast with the colorful background.
5. I used highlights to make it seem like there is a clear wrapper around the sneaker.
6. The mini assignment were extremely helpful because they showed how to use the media and make your art look as realistic as possible when it came to texture and shading.
7. Once you draw over the highlights of the first time it is hard to go back over them so it was a bit difficult. To make my drawing better I could do a couple more layers.
Perspective unit
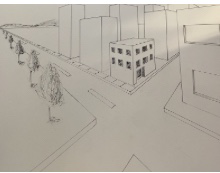
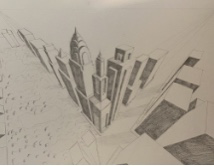
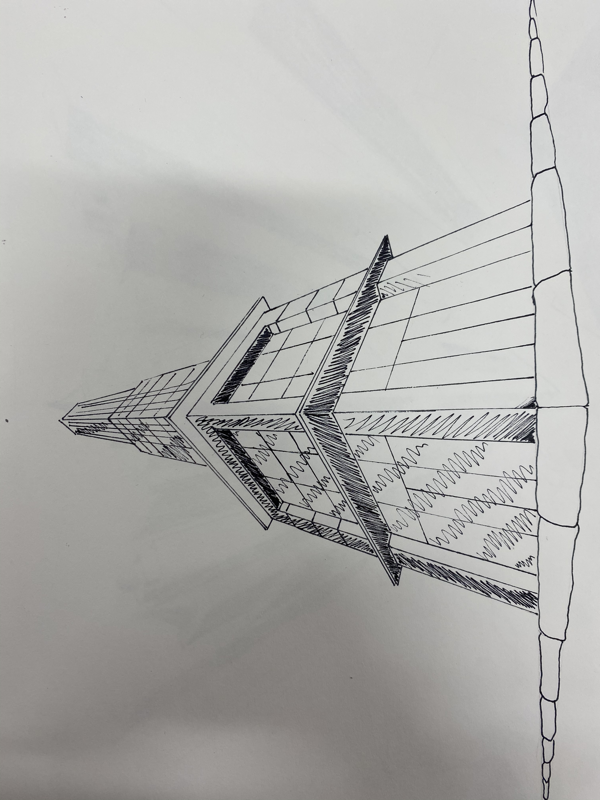
We learned how to draw buildings/cities from different perspectives.
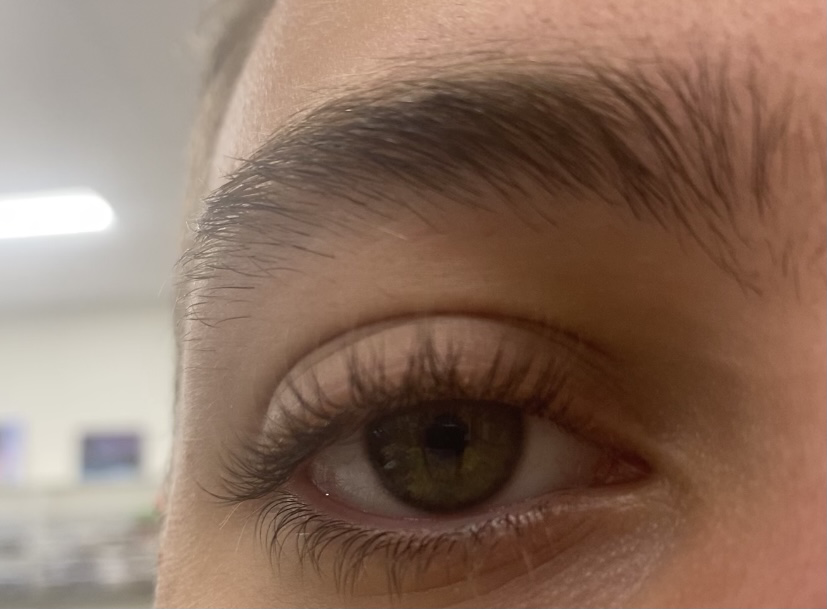
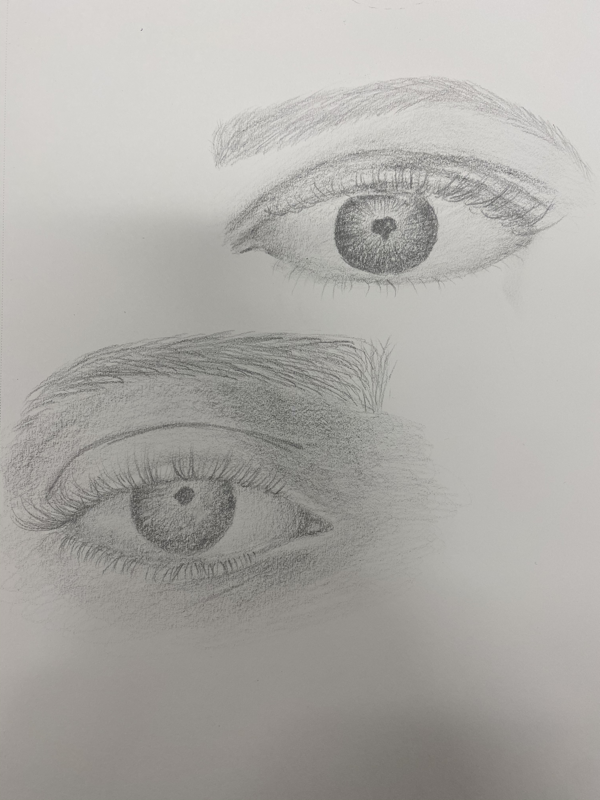
Facial features drawings
Eyes
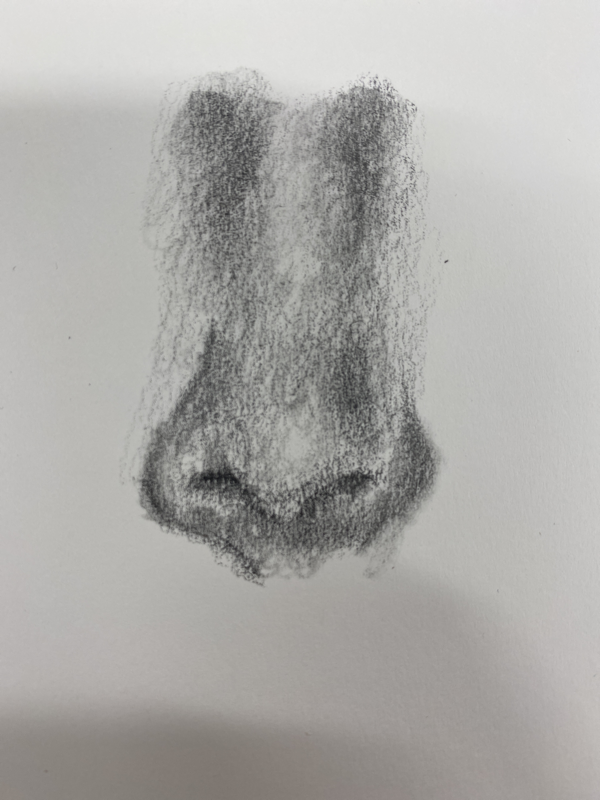
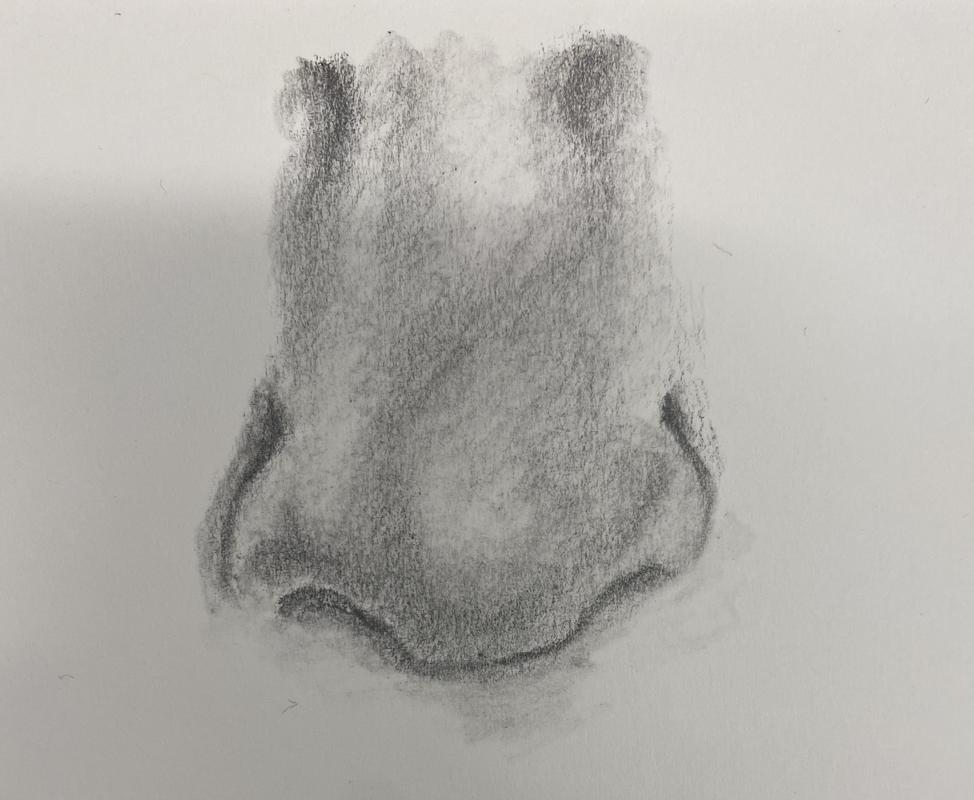
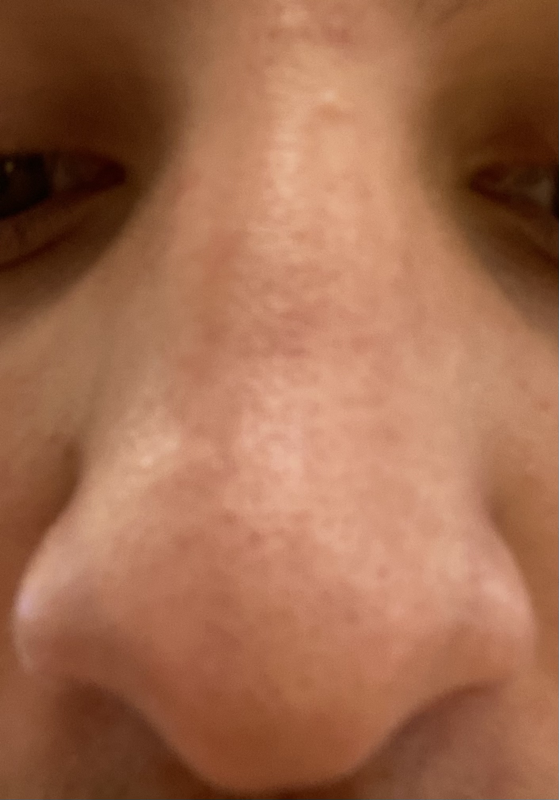
Nose
Mouth


Look at that View
Brainstorming ideas:
1. Front of car
2. Rear of car
3. Driving POV
4. One point looking across keyboard
5. Building in one point
6. Building in two point
7. Building in three point
8. Buildings in like Batman cover
9. Worms eye from car wheel
10. Worms eye from car wheel
11. Worms eye from paper of someone drawing
12. Worms eye of sneakers
13. One point of keyboard
14. Creek in one point
15. candle from worms eye
Comp. sketches/ Final sketch


In progress


Final
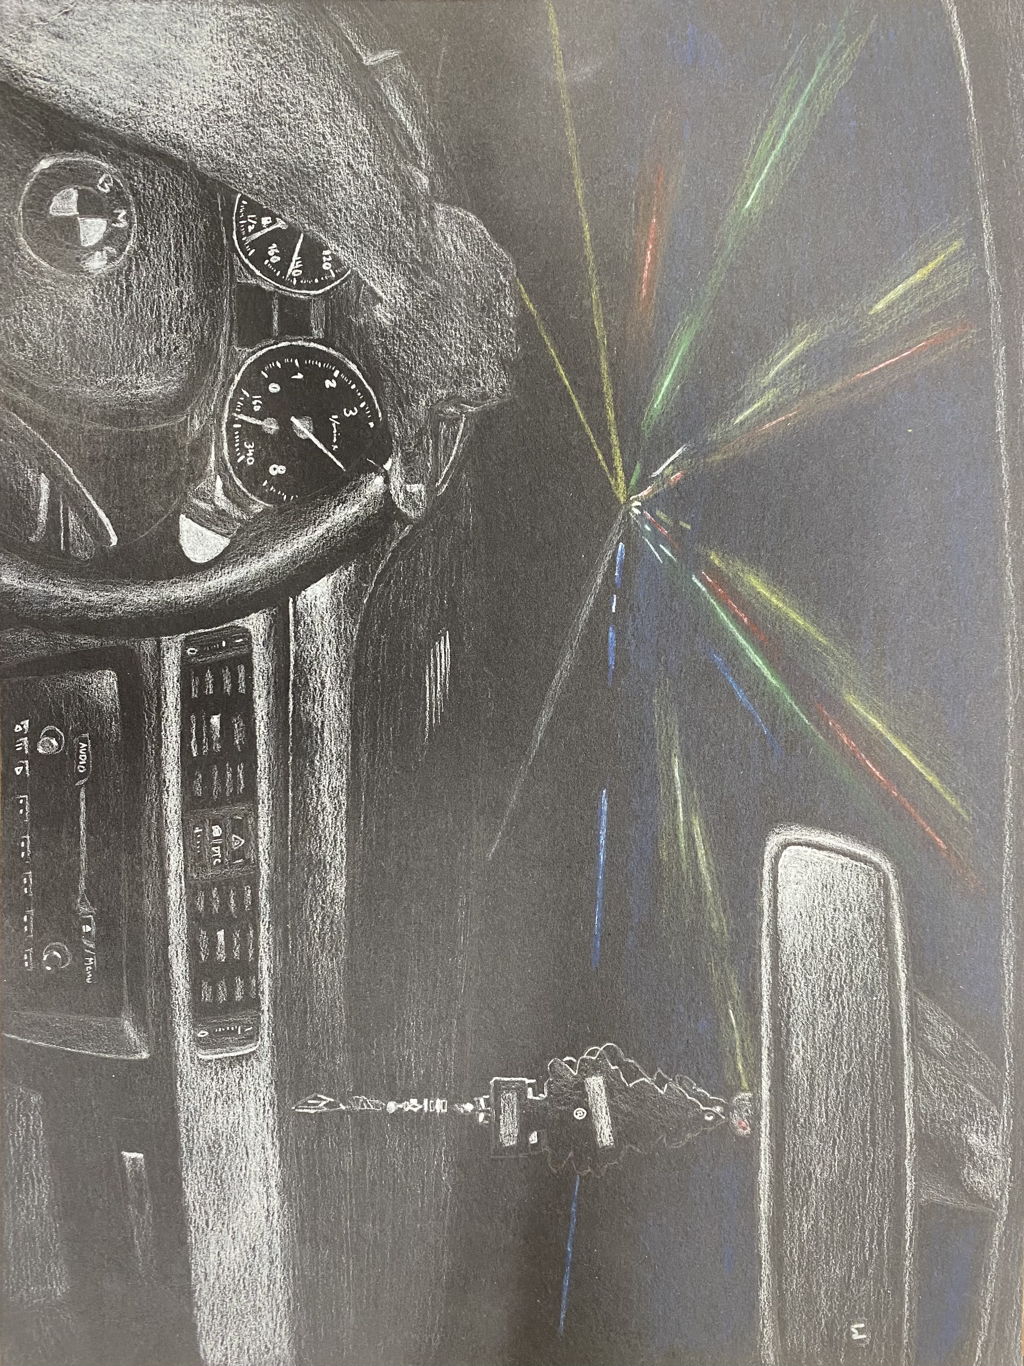
1. It was one point which is pretty simple but I made it a view that most people have seen which I feel made it interesting. And I think the POV fits well.
2. If I didn’t learn to draw in perspective this would have been really confusing to the viewer and would have been inaccurate.
3. It is important to know how to draw in different perspectives so you can make you art different and more interesting while also being realistic.
4. Learning how to blend with colored pencils and white was very important because that is all my art consists of.
5. This peice took very long because I wanted to make sure it was as good as it could possibly be. I used the all the techniques we learned in class from the mini assignments.
6. Yes, this is all part of the perspective.
7. Over all I was taught what I needed to be taught. However it was difficult to do opposite shading with white while the real picture is more dark than light and I had to improvise but I made it work.
8. I feel like Mrs. Rossi prepared me really well and taught me exactly what I needed to know to finish this peice.
Self Portrait Project
BRAINSTORMING IDEAS:
- Glass face
- Metal face
- Robot face
- Warm color face
- Cool color face
- Half-mirror face
- POV looking in a mirror
- Head in pieces
- Cracked head (not vulgar)
- Cracked head (vulgar)
- Part skull head
- X.5 iphone camera big forehead
- Half pretty(haircut or makeup) half not
- Close up to eye (can see reflection of something)
- Eating
Sketches
In Progress


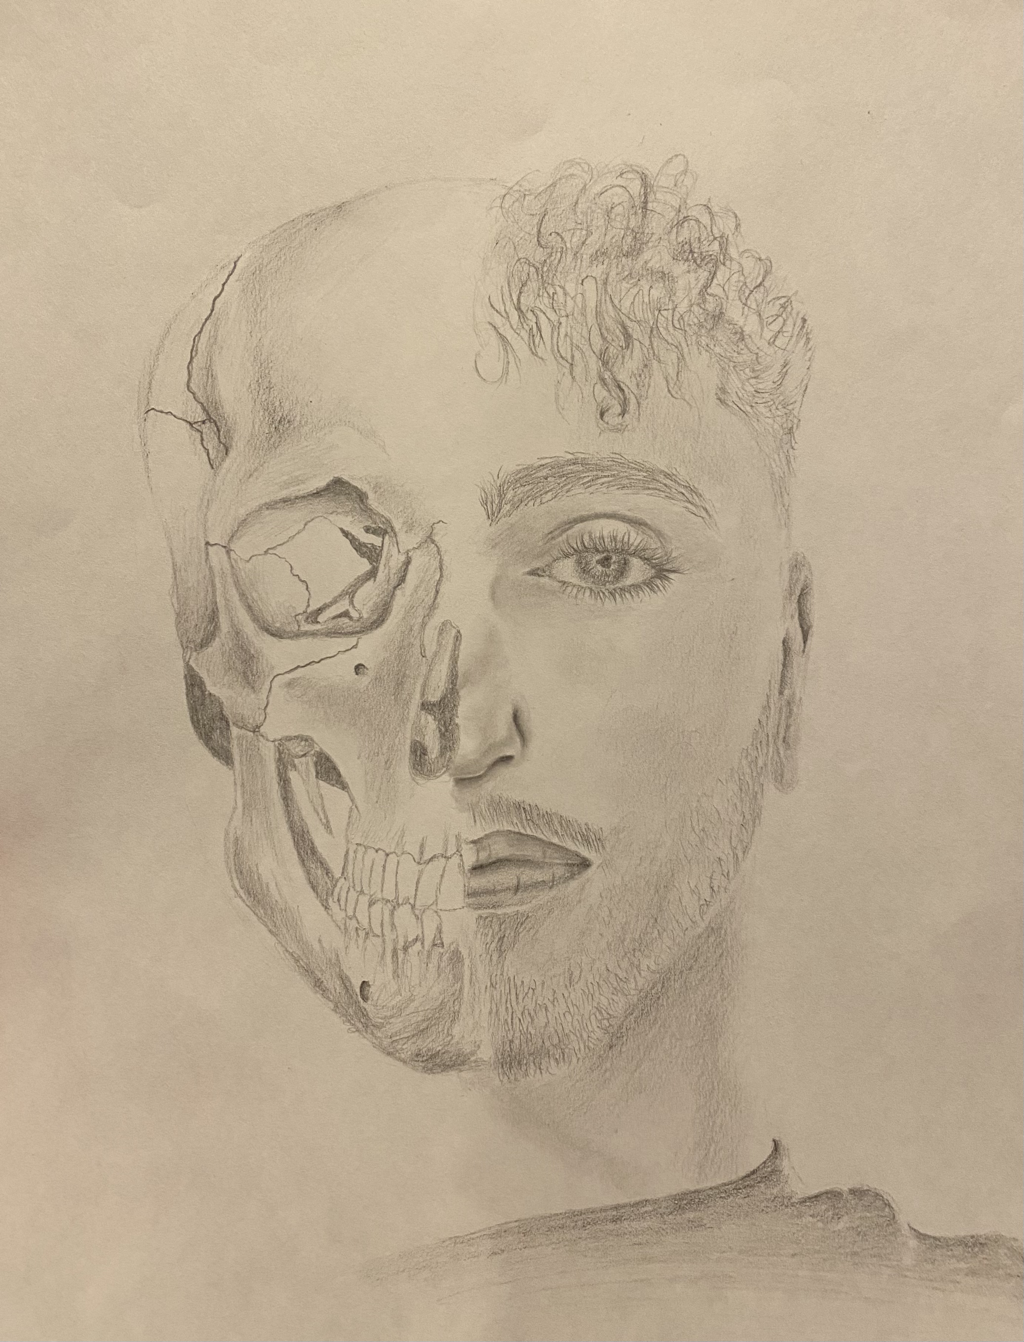
Final
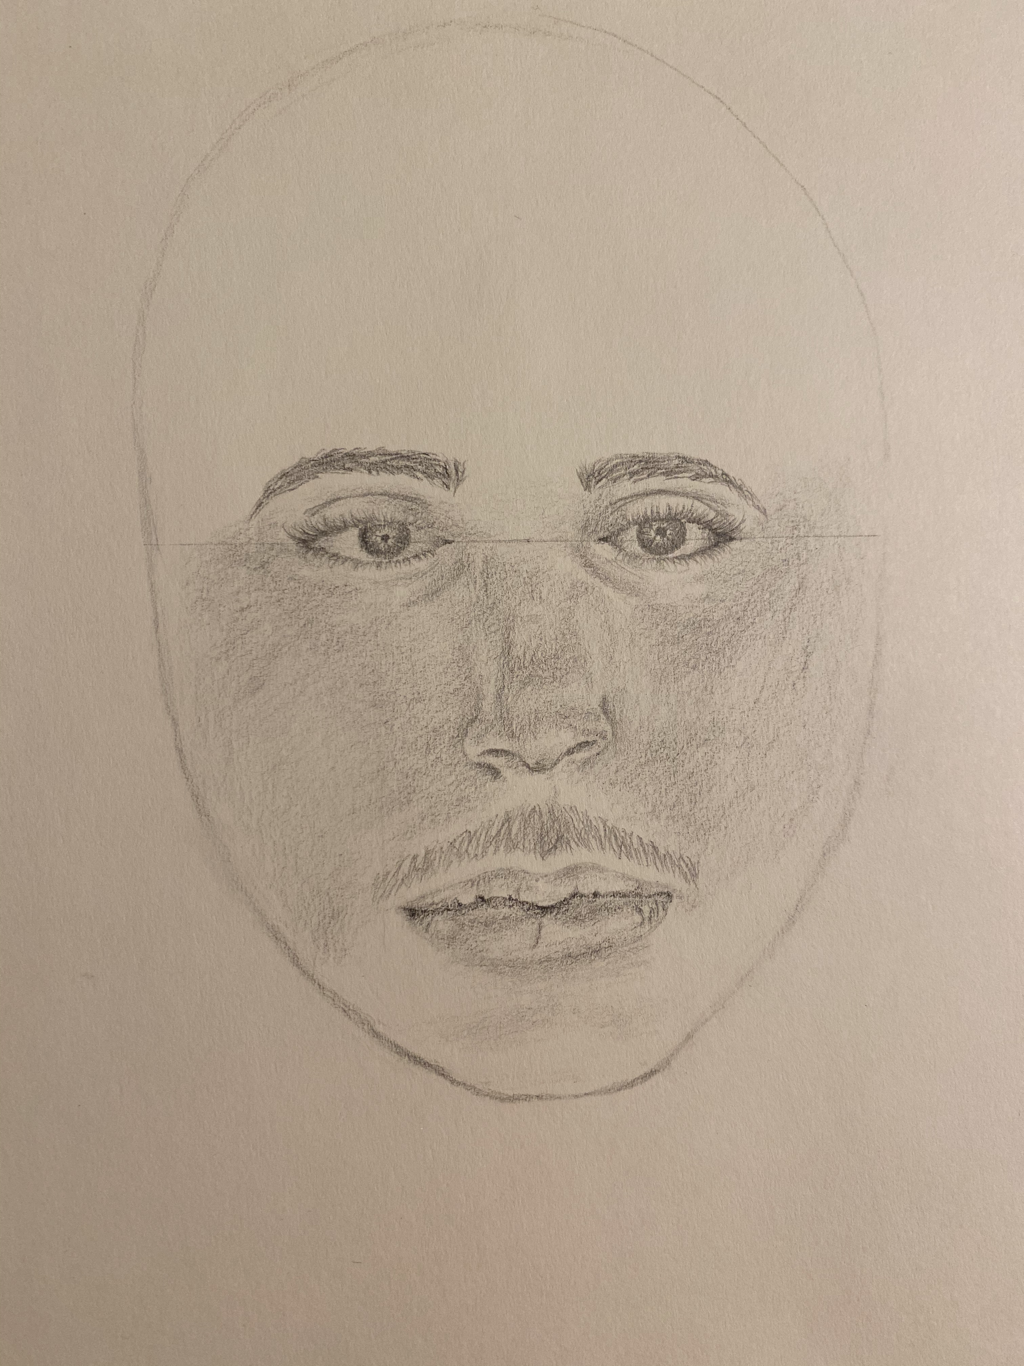
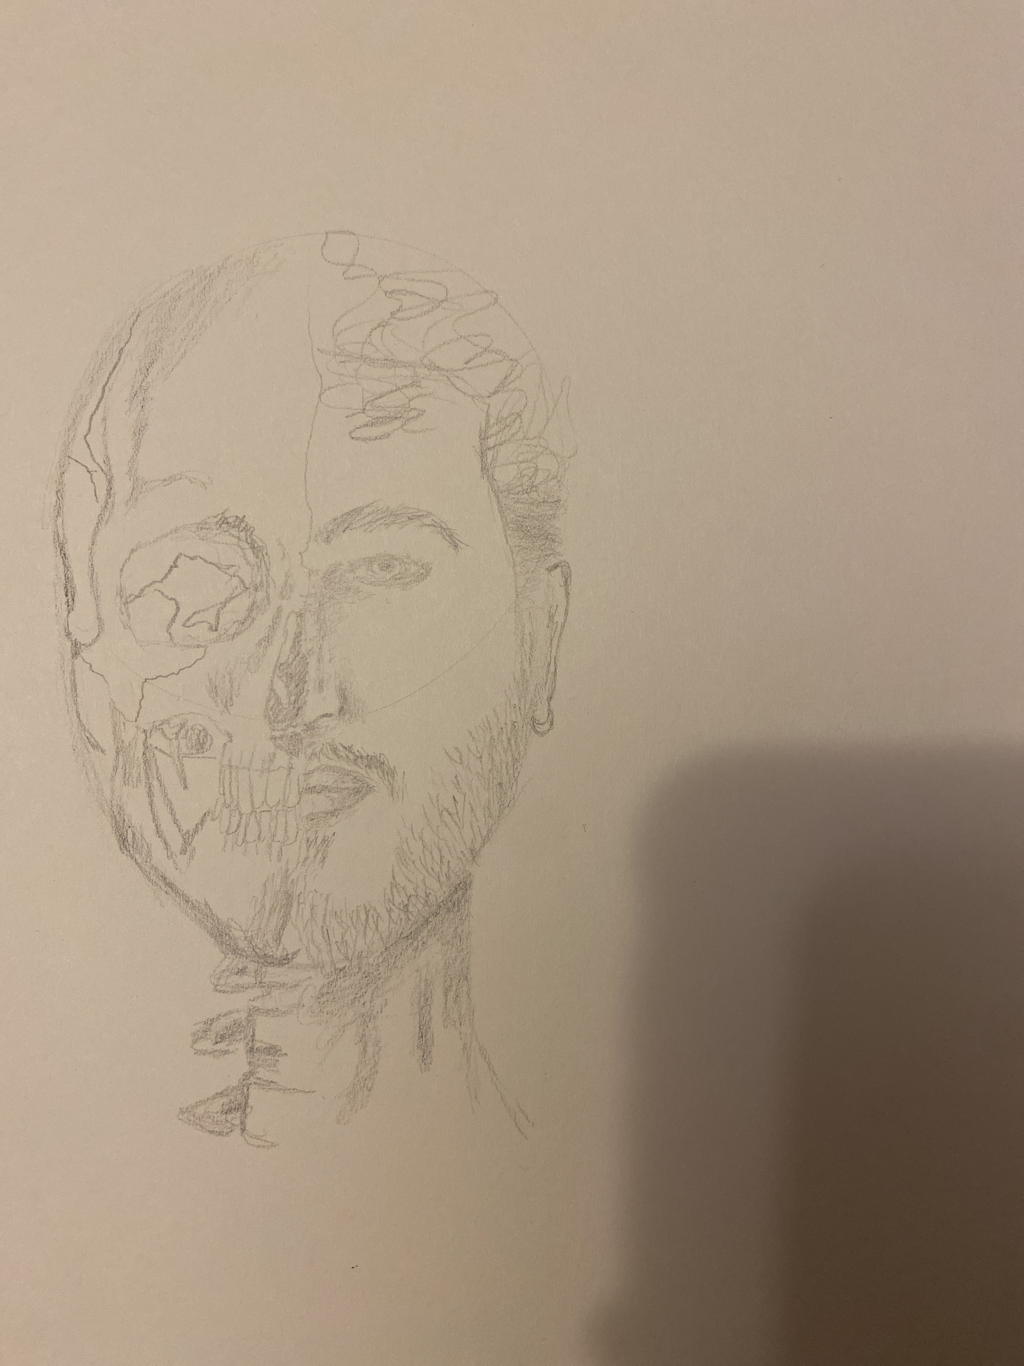
1. First I had to learn how to draw all the features on my face and also have a reference skull picture to draw from.
2.I chose to express myself like this in my portrait because it shows my emotion most of the time (drained).
3. Yes because there are highlights and very dark spots I even had to use different types of pencils to achieve darker tones.
4. Yes, it is a lot neater than I thought it would end up being because I didn’t know how I was going to blend the 2 sides together but it flowed nicely in my opinion.
5. I used a picture of my face for reference as well as a picture of a skull for the other side.
6. I used the measuremts we were taught in class to get an accurate placement of the features.
7. Learning to draw each feature individually helped focus on one at a time so it was easy to put them all together.
8. Learning to draw each feature was the most important to me because if all we had was measurements
